-
-
-
-
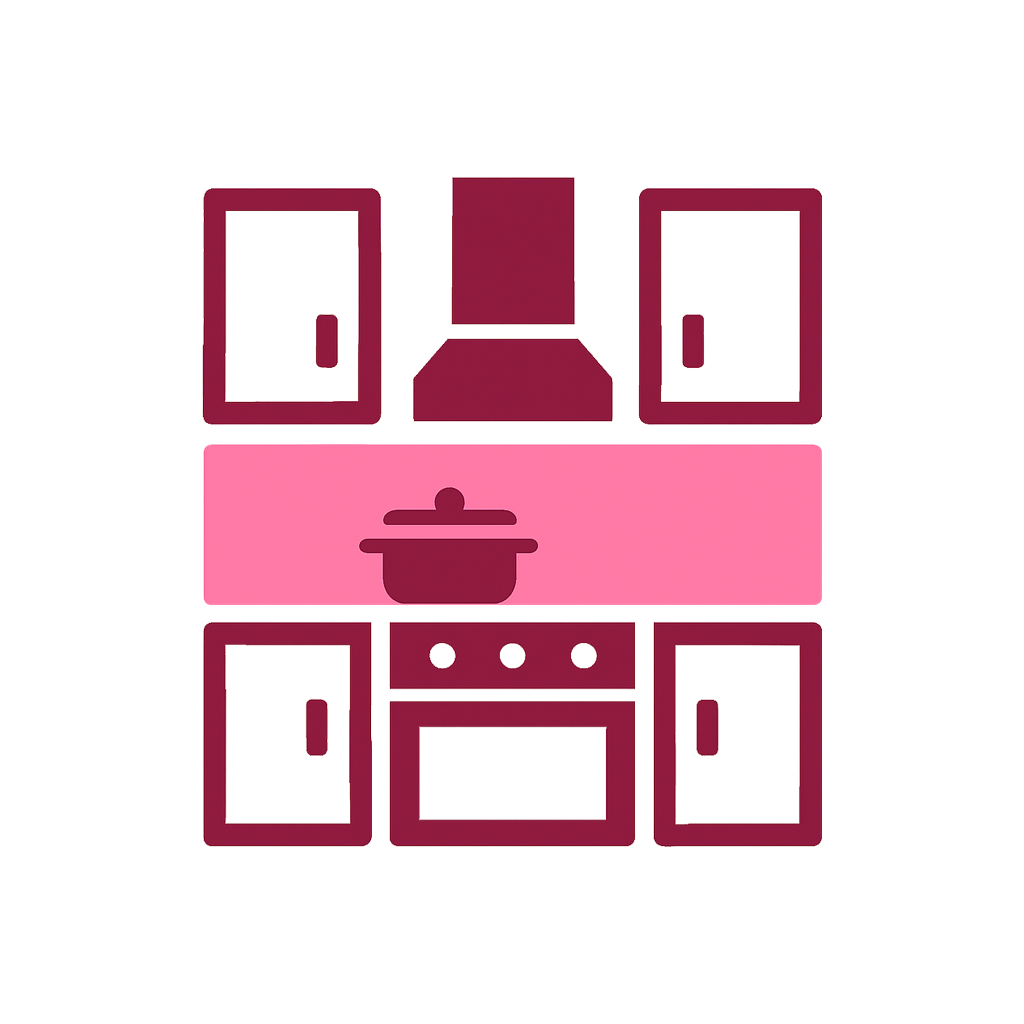
Kitchen splashback
-
-
-
-
-
Our Tools
Create your custom-cut metal parts instantly with our 3 online solutions!
John Steel: From concept to precision cut in just a few clicks.
-
-
-
-
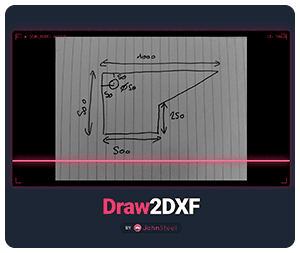
DRAW2DXF (beta)
Creating your design file has never been easier! A simple sketch is all you need.
Scan my sketch
-
-
-
-
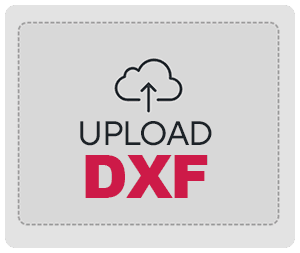
UPLOADER
Simply upload your DXF file, and we'll take care of the rest!
Upload my DXF
-
-
-
-
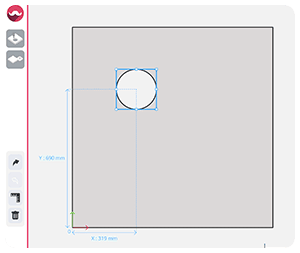
Custom Part Builder
Easily design or edit your custom part!
Design my part
-
-
-
-
-

-
Our cuts and folding ordered directly from the factory on the internet in just a few clicks
-
Submit your quote now !
-
-
-
-
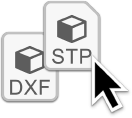
1. Drag your DXF (2D) and STP (3D) files
Simply drag your files into our online configurator
-
-
-
-
2. Define the material and thickness of the project
Steel, aluminum or stainless steel in the thickness of your choice
-
-
-

-
3. Quote, order & receive your parts
Get your quote instantly, start production immediately with fast delivery
-
-

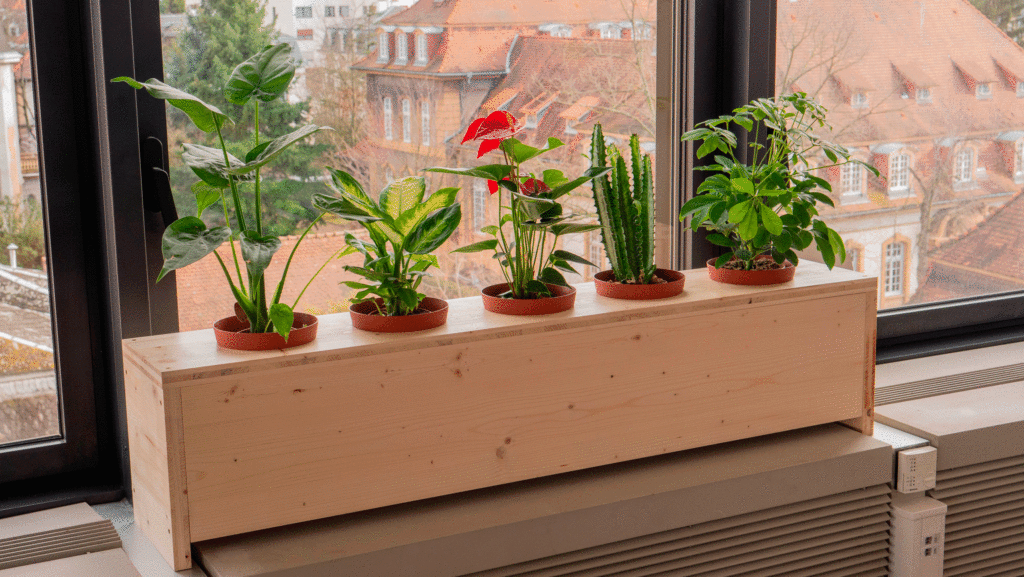
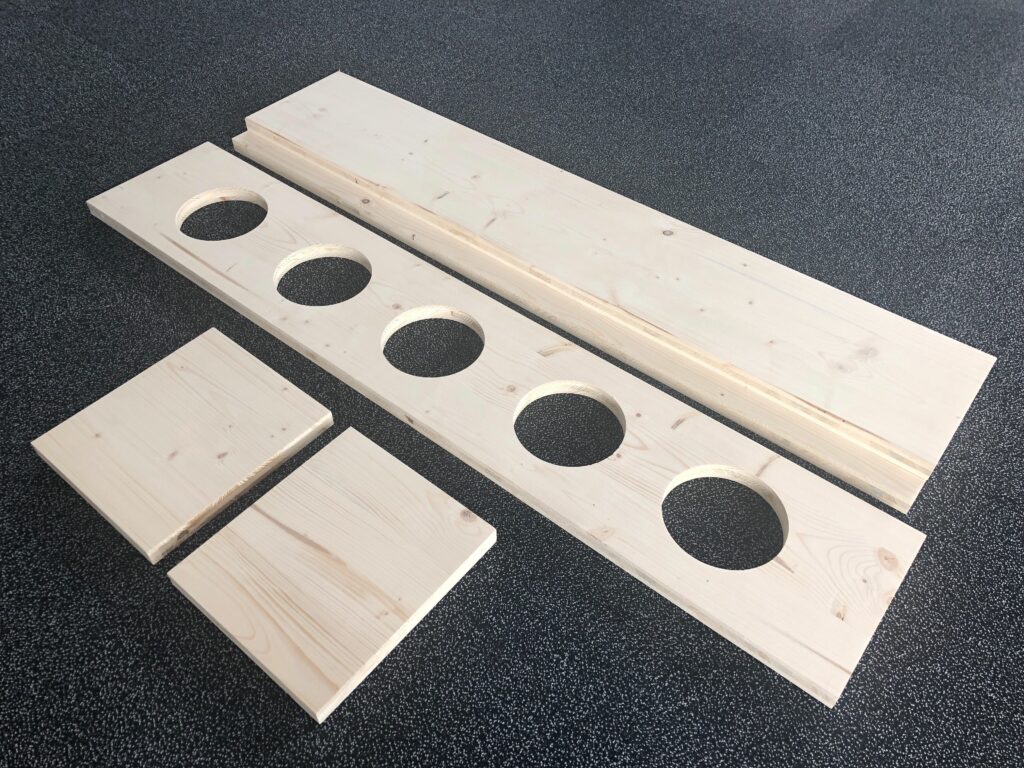
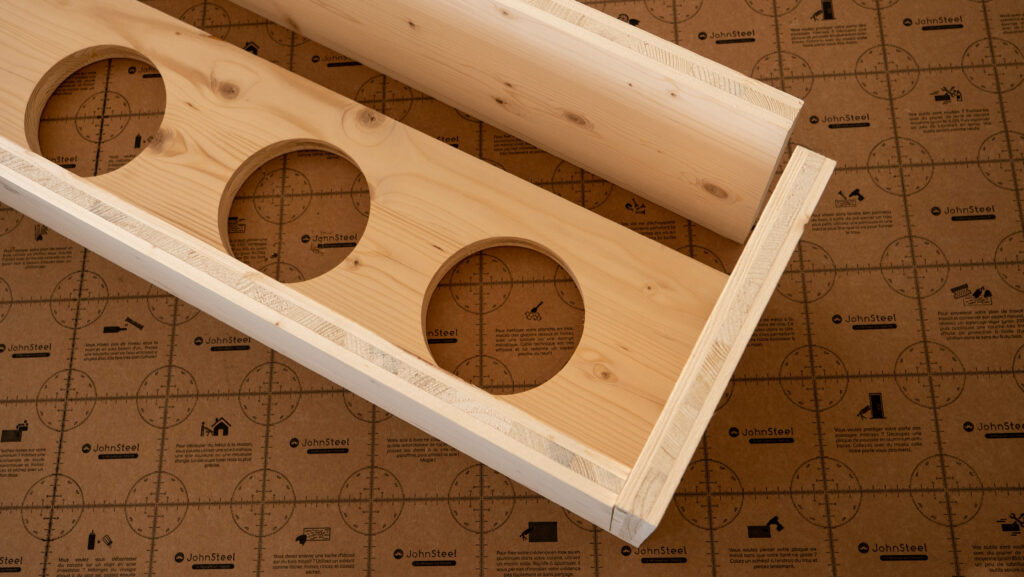
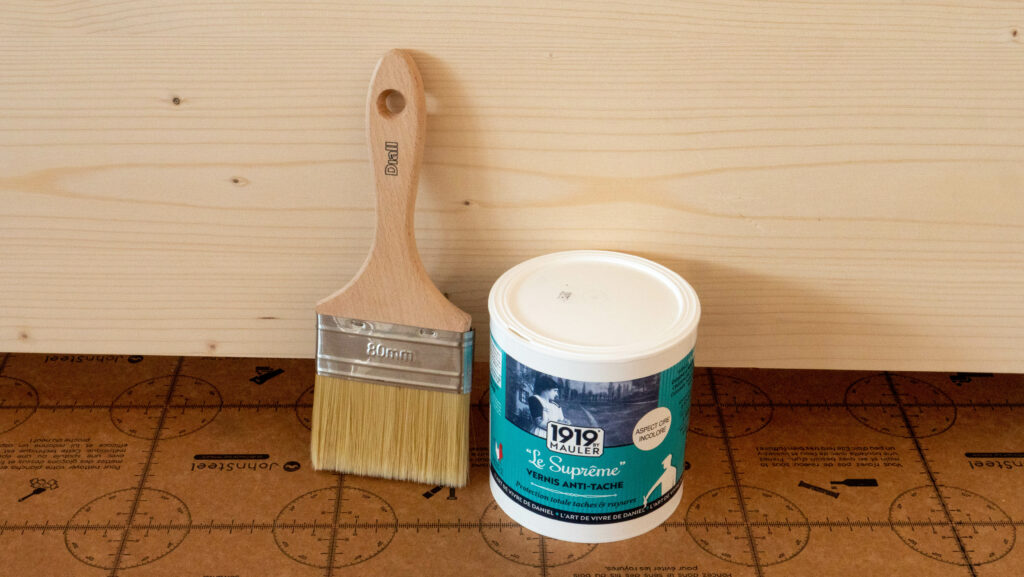
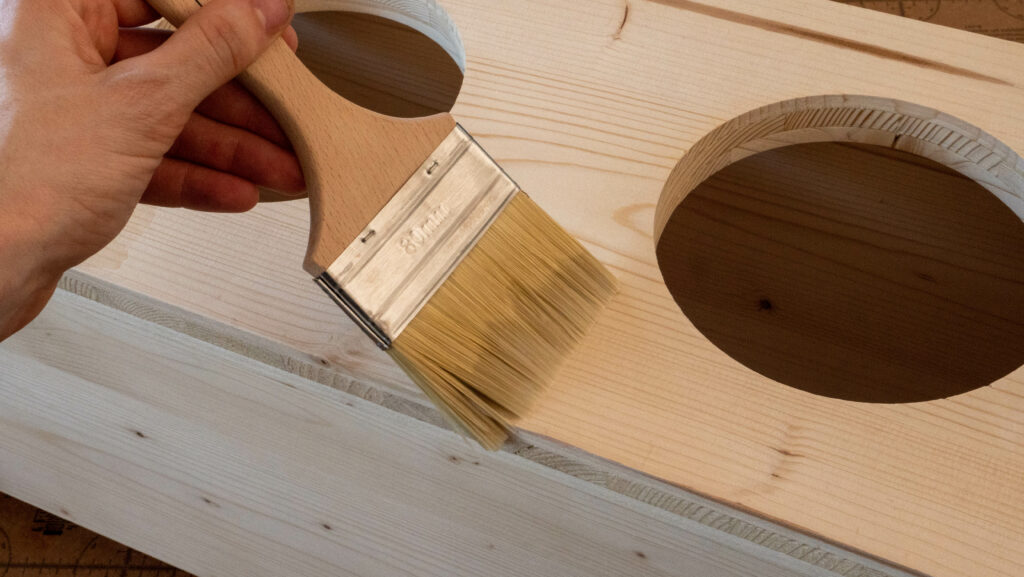
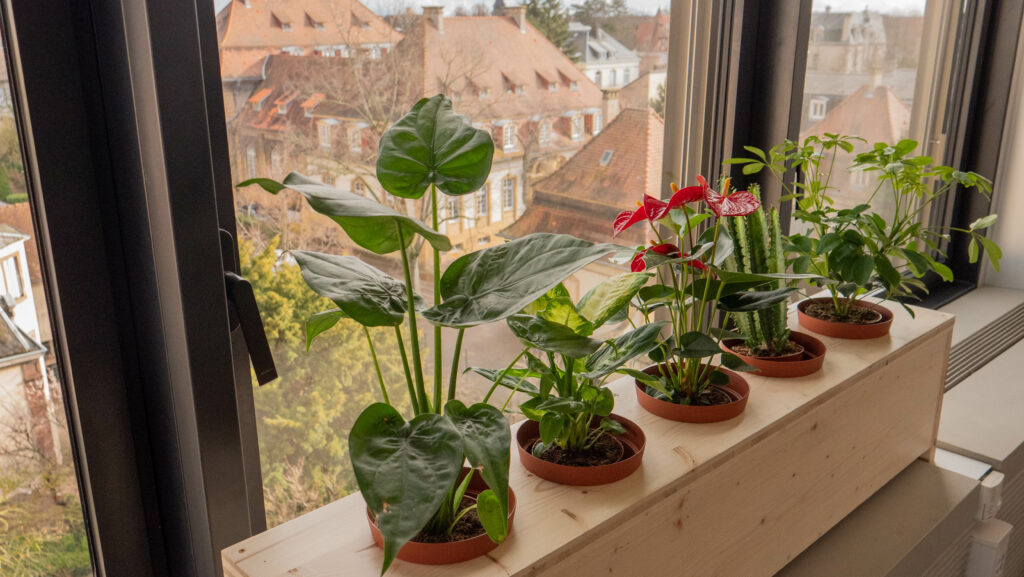
Make a custom wooden planter !
25 août 2021
Sommaire
Subscribe to our SteelNews
No more than 1 email per month, only the quality!


Commentaires
Leave a comment