John,
Expert in Metallurgy and Precision Cutting
John's advice: choosing your custom kitchen backsplash
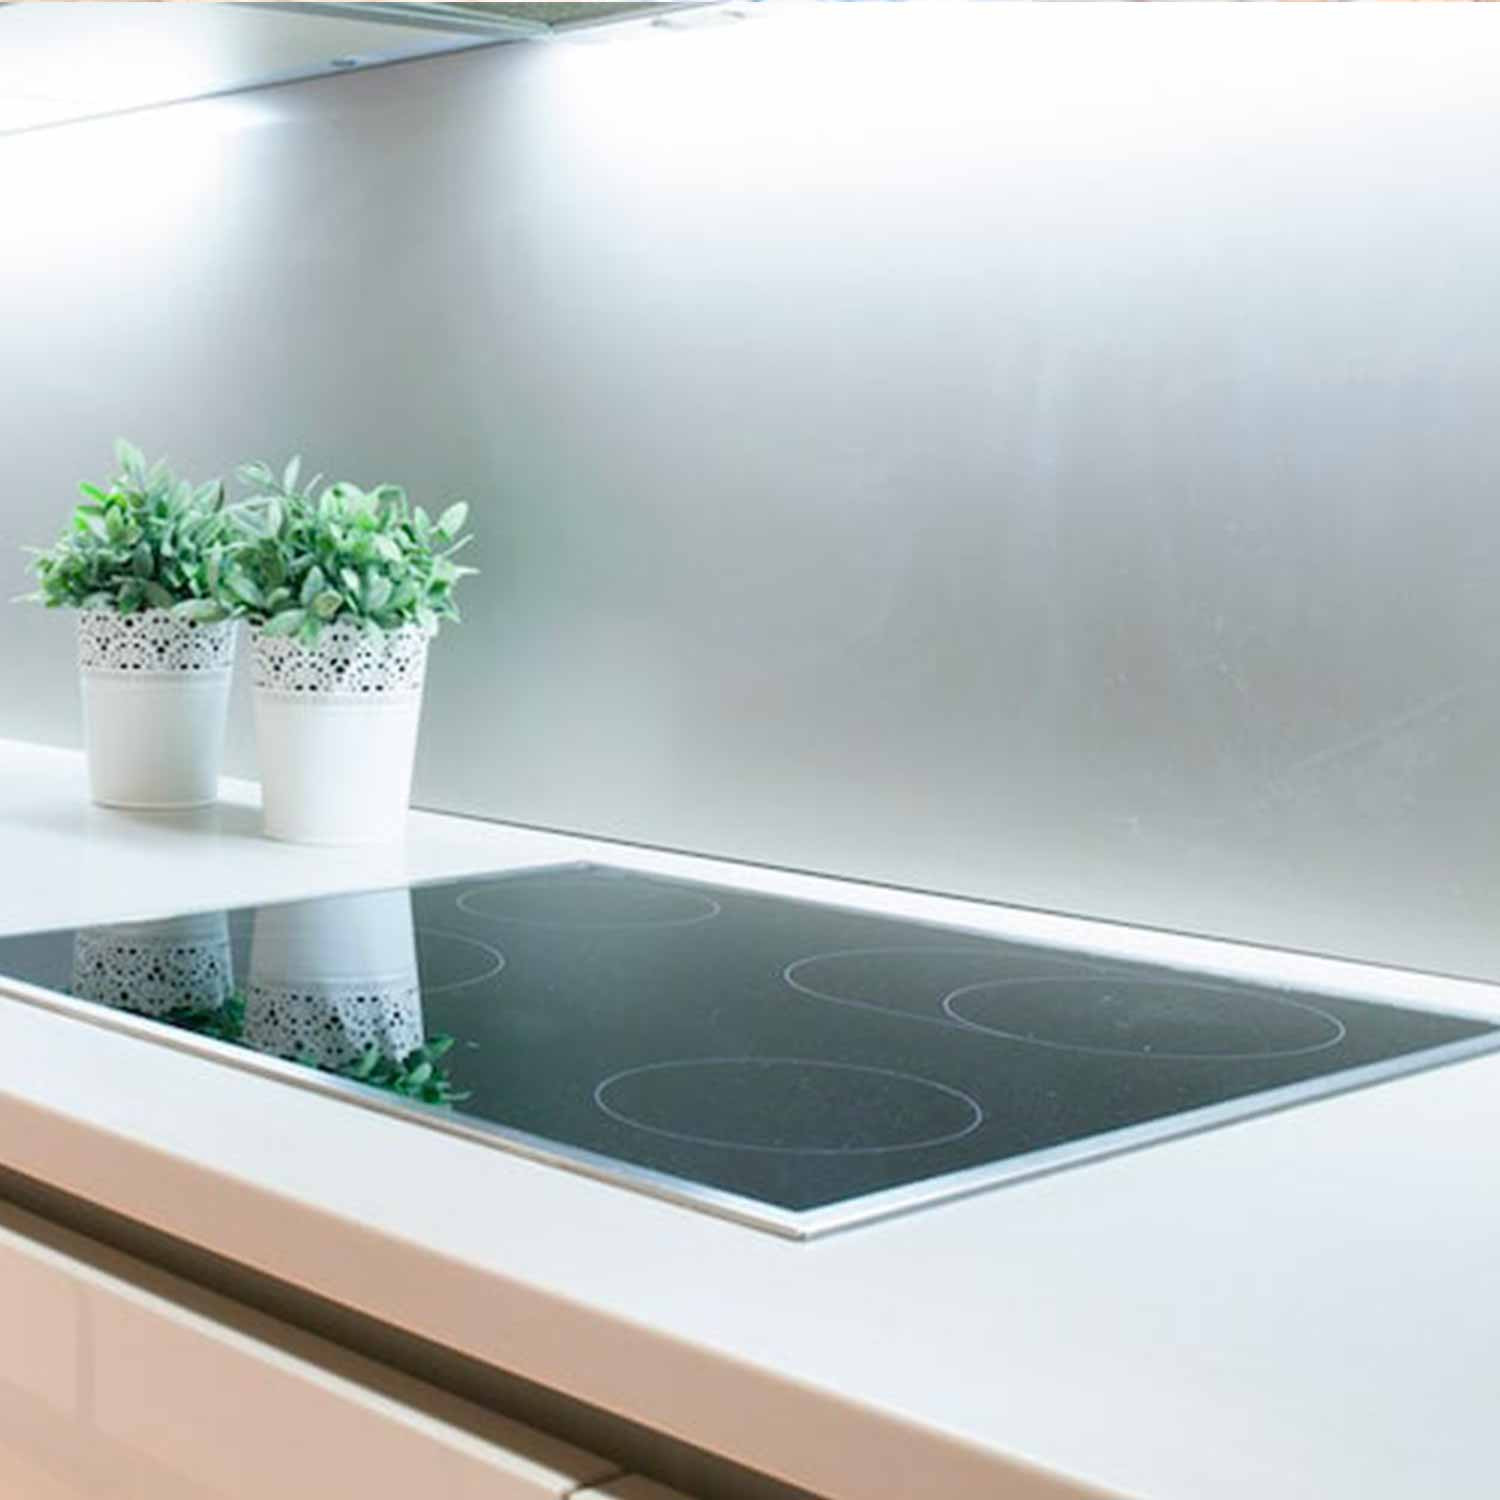
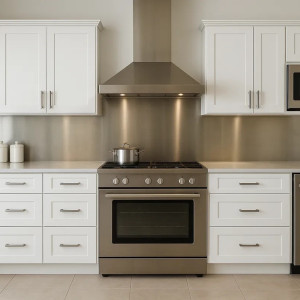
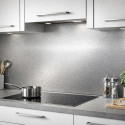
A custom kitchen backsplash shields your walls from splashes, steam and stains. Brushed stainless steel (1 to 1.5 mm) is the top choice for cooks: hygienic, non-combustible and ultra heat-resistant, it handles gas hob flames with ease. Anti-fingerprint brushed aluminium (1.5 mm), anodised and food-safe, delivers a designer finish with minimal upkeep — ideal for electric or induction hobs. The stainless steel cooker hood panel completes the protection from worktop to ceiling.
💡 Workshop tip: if you use a gas hob, stainless steel is mandatory behind the burners — aluminium, even anodised, cannot withstand direct flames. For a seamless look, opt for a single piece with no joins: we cut up to 3000 mm in length to your chosen height.
For installation, high-strength adhesive sealant is sufficient for a clean wall fix, even over existing tiles. Measure at three points (left, centre, right) and keep the smallest dimension: walls are never perfectly straight.
Choosing a custom-cut kitchen splashback involves more than just aesthetics. Material type, thickness, hob configuration, and wall constraints are all critical factors. This guide provides the technical criteria required to make an informed choice before configuring your order: material suitability, precise dimensions, seamless installation, and low-effort maintenance.
Choosing the Right Material for Your Custom Splashback
Every kitchen has specific constraints: heat, steam, grease splashes, and design requirements. Your splashback material must meet these functional needs. The two primary material families for custom kitchen splashbacks are stainless steel and aluminum. Their suitability depends on your specific setup.
Stainless steel is the industry standard for high-use kitchens: it is heat-resistant, waterproof, and easy to sanitise.
Aluminum offers an excellent strength-to-weight ratio and a cost-effective price point, with finishes that closely mimic stainless steel.
The correct choice depends on the splashback's proximity to the hob, frequency of use, and the desired level of finish. The following sections detail the decisive criteria for your project.
Brushed vs. Polished Stainless Steel: Which to Choose?
Stainless steel is the preferred choice for kitchen splashbacks for good reason. However, the main technical decision involves the finish: brushed or polished? Both are available for custom-cut splashbacks, but they perform differently in a kitchen environment.
Brushed finish features a satin appearance with directional micro-grain. It effectively hides fingerprints and light splashes. This is the most popular finish for family and professional kitchens as it remains presentable between cleanings. Polished finish (mirror effect) provides a high-shine, decorative look but reveals every fingerprint and water mark. It is best suited for low-traffic kitchens where aesthetics take priority over practicality.
| Criteria |
Brushed Stainless Steel |
Polished Stainless Steel |
Aluminum |
| Appearance |
Satin, micro-grain |
Shiny, mirror effect |
Satin or anodised |
| Fingerprints |
Low visibility |
High visibility |
Low visibility |
| Maintenance |
Microfibre cloth (with the grain) |
Frequent cleaning required |
Damp cloth, avoid acidic cleaners |
| Recommended Use |
Active, family, or pro kitchens |
Decorative, moderate use |
Large surfaces, budget-conscious, induction/ceramic hobs |
For daily cooking, brushed stainless steel is the most logical choice. Polished finishes are reserved for high-end design projects with minimal cooking activity. Aluminum is a serious alternative to brushed stainless for large surface areas or tight budgets, provided it is not exposed to intense direct heat.
Custom Splashbacks and Hob Compatibility
The type of hob you use directly dictates the material choice and the protection zone required. An incorrectly sized or unsuitable material risks premature degradation and may void equipment warranties.
This is not just about looks; it is about understanding how heat radiates against the wall to select a material with the appropriate thermal tolerance.
Heat Zones and Material Compatibility
Behind a gas hob, heat is direct and concentrated. This is the most demanding configuration. Stainless steel and treated aluminum are the most suitable materials here, as they withstand thermal fluctuations without warping or discolouration.
Behind induction or ceramic hobs, the heat dissipated toward the wall is significantly lower. The exposure is primarily limited to cooking splashes. In this setup, aluminum can be used without specific thermal constraints, widening the range of available finishes.
Rule of thumb: the more direct and intense the heat source, the higher the thermal tolerance required for the splashback. Always refer to your hob manufacturer's guidelines for minimum clearances.
Measuring for Your Configuration
Measuring a custom splashback seems straightforward, but precision is vital. A custom-cut kitchen splashback must cover the functional area exactly, accounting for corners and obstacles.
Width should be based on the zone to be protected: either the width of the hob plus a small overlap on each side, or the full wall width between cabinets. Height is measured from the top of the worktop to the underside of the wall units or extractor hood.
Commonly overlooked details: recessed electrical sockets require precise cutouts, and internal or external corners may require a two-piece assembly or specific shaping. Our configurator manages these complex shapes and cutouts directly, eliminating the need for manual calculations.
Factors Affecting the Quote
Material selection is the primary cost driver. Stainless steel is generally the premium option, followed by aluminum. For large surface areas, the price difference can be significant; we recommend comparing material options in the configurator before finalising.
Total surface area naturally impacts the price. Thickness is also a factor: a 1mm custom stainless steel splashback will cost less than a 1.5mm version for the same surface area.
Finishing options (brushed, polished, anodised) and specific cutouts (sockets, notches, non-rectangular shapes) add to the cost based on complexity. Finally, lead times may influence the final total depending on the shipping options selected.
Installation and Maintenance
Choosing a custom splashback also involves planning for its long-term installation and care. These steps are often underestimated but are dependent on the material chosen. A well-selected material simplifies both the initial fitting and daily cleaning.
How to Install a Splashback Correctly
Installation begins with surface preparation. A clean, dry, and level wall is essential. If your wall is currently tiled, it is often possible to install the new splashback directly over the existing tiles, provided they are securely fixed, the grout is intact, and the surface is perfectly flat. A splashback installed over loose or uneven tiles will not bond correctly.
The fixing method depends on the material. Stainless steel and aluminum can be bonded using a high-tack adhesive sealant or screwed into place if the thickness allows. Self-adhesive laminates can be applied to smooth surfaces without specialist tools.
Crucially, all cutouts for sockets and switches must be completed before installation.
Common errors include: measuring without accounting for plinths or cabinet edges, failing to degrease the wall before bonding, and neglecting corner joints. A successful installation requires a methodical approach.
Cleaning Guidelines by Material
The durability of a kitchen splashback depends on regular maintenance. Each material has specific requirements; using the wrong products can damage the surface within months.
For stainless steel, a slightly damp microfibre cloth is sufficient for daily cleaning.
For brushed finishes, always wipe in the direction of the grain to avoid cross-scratches. Avoid abrasive cleaners and scouring pads.
For aluminum, the principle is the same: avoid acidic or highly alkaline products that can etch the anodised surface.
Laminates should be cleaned with a damp sponge and a neutral detergent. Their grease resistance is excellent, provided the edge seals remain intact over time.
 Garden
 Japanese
 Monograms
  Metal Christmas tree
  Manhole
 Stair
Stair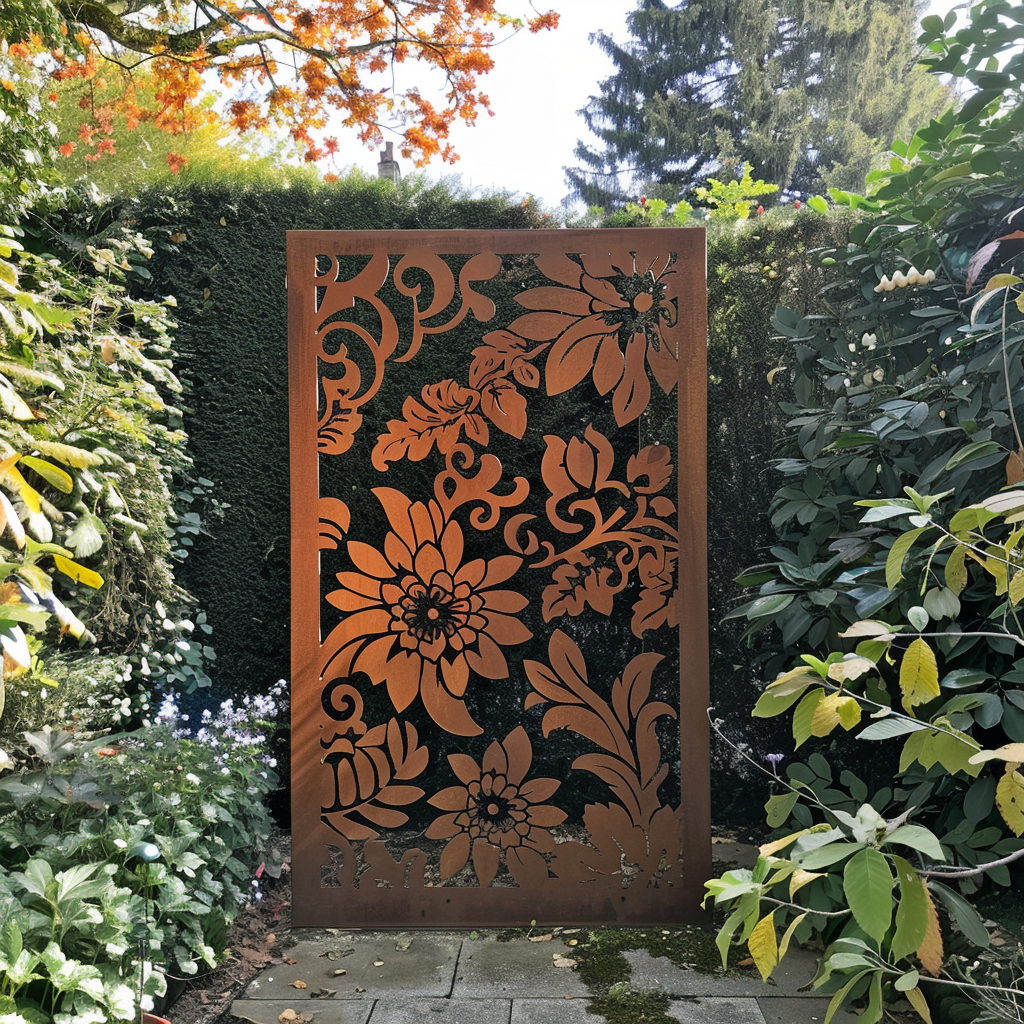

 Wall
Wall Custom
 Christmas
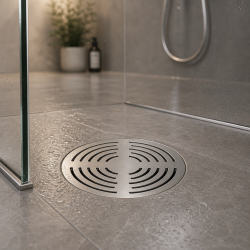 Shower
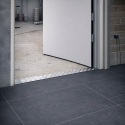 Door
Door Metal
Metal Door
Door Floor
Floor
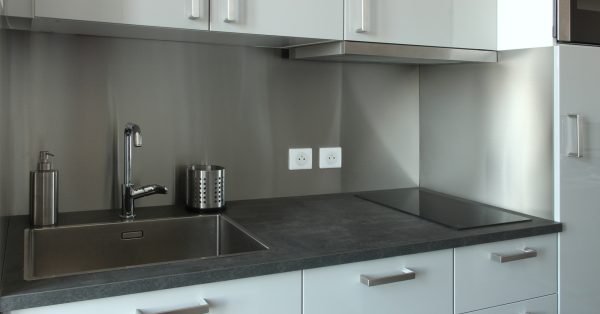
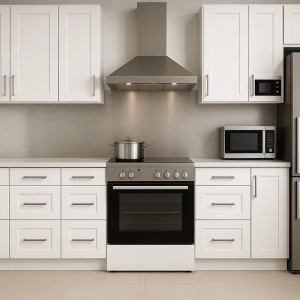
 Custom-made stainless-steel kitchen splashback
  Custom-made aluminium kitchen splashback
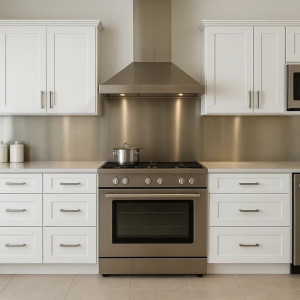
  Custom-made stainless-steel cooker hood splashback
 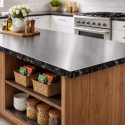 Flat cladding for a made-to-measure brushed stainless-steel worktop
 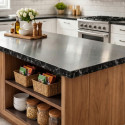 Flat cladding for a made-to-measure raw stainless-steel worktop
 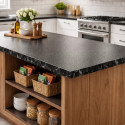 Flat cladding for a made-to-measure leather-textured stainless-steel worktop
 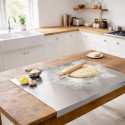 Stainless-steel pastry board with fold
 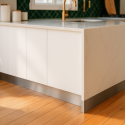 Made-to-measure brushed aluminium kitchen plinth
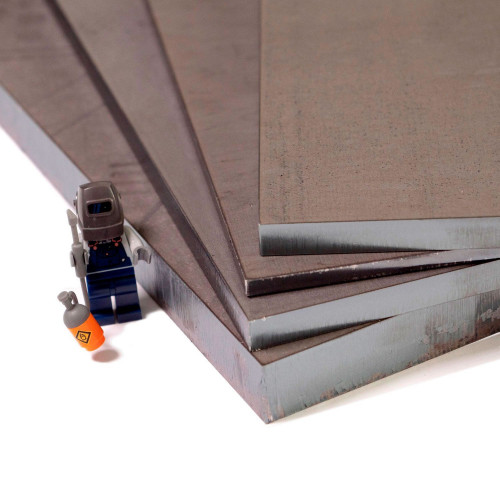
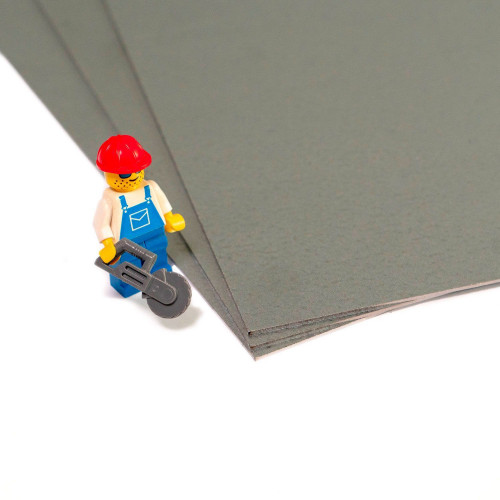
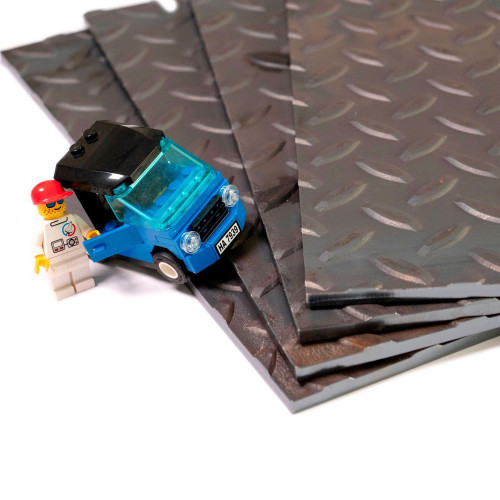
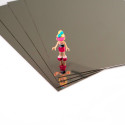
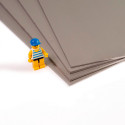
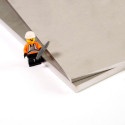
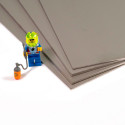
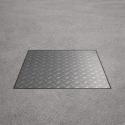
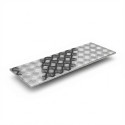 flat section in stainless steel, tread plate custom-made
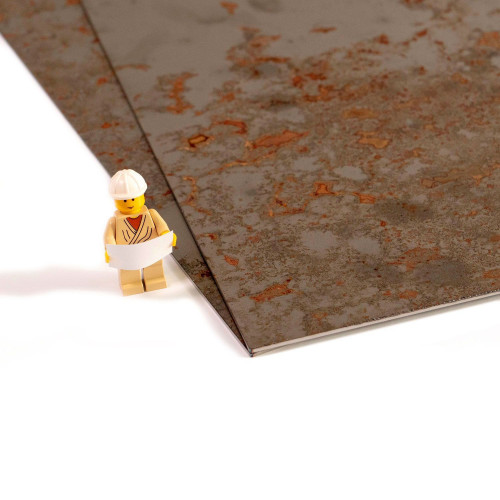
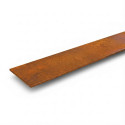 flat section in Corten steel custom-made
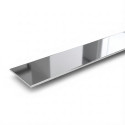 flat section in stainless steel, mirror finish custom-made
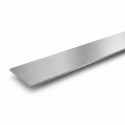 flat section in stainless steel, brushed
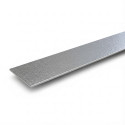 flat section in stainless steel, leather-textured
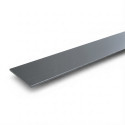 flat section in aluminium, anodised
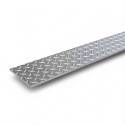 flat section in aluminium, tread plate custom-made
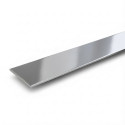 flat section in stainless steel, raw and bright
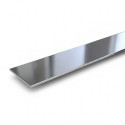 flat section in stainless steel, magnetic
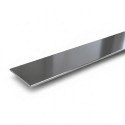 flat section in marine-grade stainless steel, raw and bright
 flat section in stainless steel, raw
 flat section in marine-grade stainless steel, raw
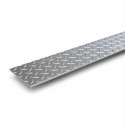 flat section in steel, tread plate
 flat section in aluminium, raw
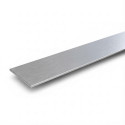 flat section in aluminium, brushed, anti-fingerprint
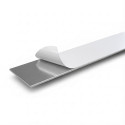 flat section in aluminium, raw, film-coated
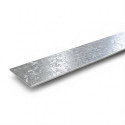 flat section in galvanised steel custom-made
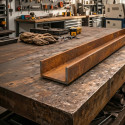 U-profile in Corten steel custom-made
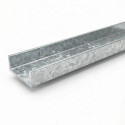 U-profile in galvanised steel custom-made
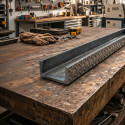 U-profile in steel, tread plate
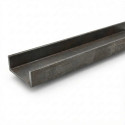 U-profile in steel, raw custom-made
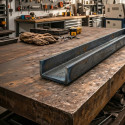 U-profile in steel, raw
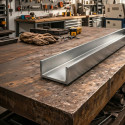 U-profile in stainless steel, brushed custom-made
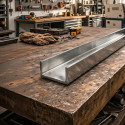 U-profile in stainless steel, raw and bright custom-made
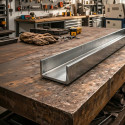 U-profile in stainless steel, magnetic custom-made
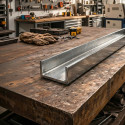 U-profile in marine-grade stainless steel, raw and bright custom-made
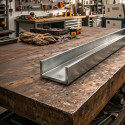 U-profile in stainless steel, raw custom-made
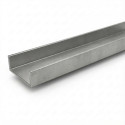 U-profile in marine-grade stainless steel, raw custom-made
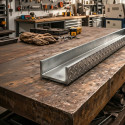 U-profile in stainless steel, tread plate custom-made
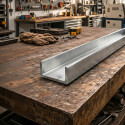 U-profile in aluminium, raw custom-made
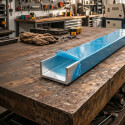 U-profile in aluminium, raw, film-coated custom-made
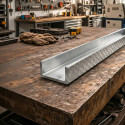 U-profile in aluminium, tread plate custom-made
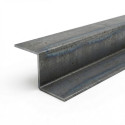 Z-profile in steel, raw
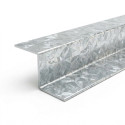 Z-profile in galvanised steel custom-made
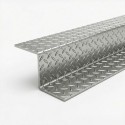 Z-profile in steel, tread plate
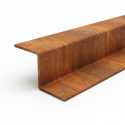 Z-profile in Corten steel custom-made
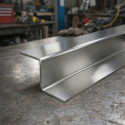 Z-profile in stainless steel, brushed custom-made
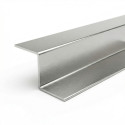 Z-profile in stainless steel, raw and bright custom-made
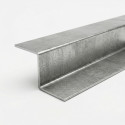 Z-profile in stainless steel, magnetic
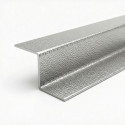 Z-profile in stainless steel, leather-textured custom-made
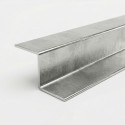 Z-profile in marine-grade stainless steel, raw and bright custom-made
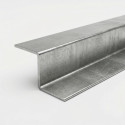 Z-profile in stainless steel, raw custom-made
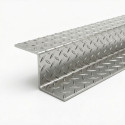 Z-profile in stainless steel, tread plate custom-made
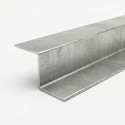 Z-profile in aluminium, raw custom-made
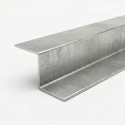 Z-profile in aluminium, raw, film-coated custom-made
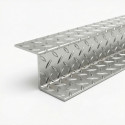 Z-profile in aluminium, tread plate custom-made
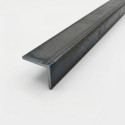 L-profile in steel, raw custom-made
 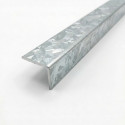 L-profile in galvanised steel
 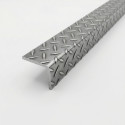 L-profile in steel, tread plate
 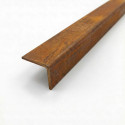 L-profile in Corten steel custom-made
 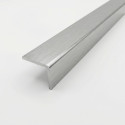 L-profile in stainless steel, brushed custom-made
 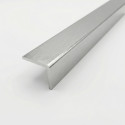 L-profile in marine-grade stainless steel, raw and bright custom-made
 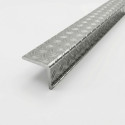 L-profile in stainless steel, tread plate custom-made
 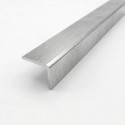 L-profile in aluminium, raw custom-made
 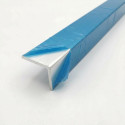 Custom-made film-coated raw aluminium L-profile
 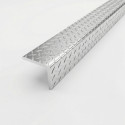 Custom-made aluminium chequer plate L-profile
 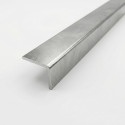 Magnetic stainless-steel L-profile
  Brushed
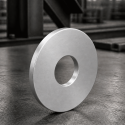 Brushed
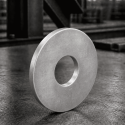 Chequer plate
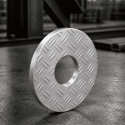 Chequer plate
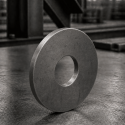 Brushed
 Galvanised