-
-
-
-
Kitchen splashback
-
-
-
-
-
Our Tools
Create your custom-cut metal parts instantly with our 3 online solutions!
John Steel: From concept to precision cut in just a few clicks.
-
-
-
-
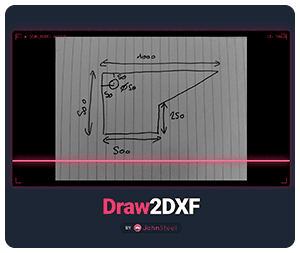
DRAW2DXF (beta)
Creating your design file has never been easier! A simple sketch is all you need.
Scan my sketch
-
-
-

-
UPLOADER
Simply upload your DXF file, and we'll take care of the rest!
Upload my DXF
-
-
-
-
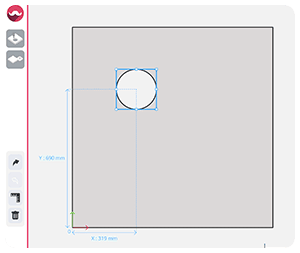
Custom Part Builder
Easily design or edit your custom part!
Design my part
-
-

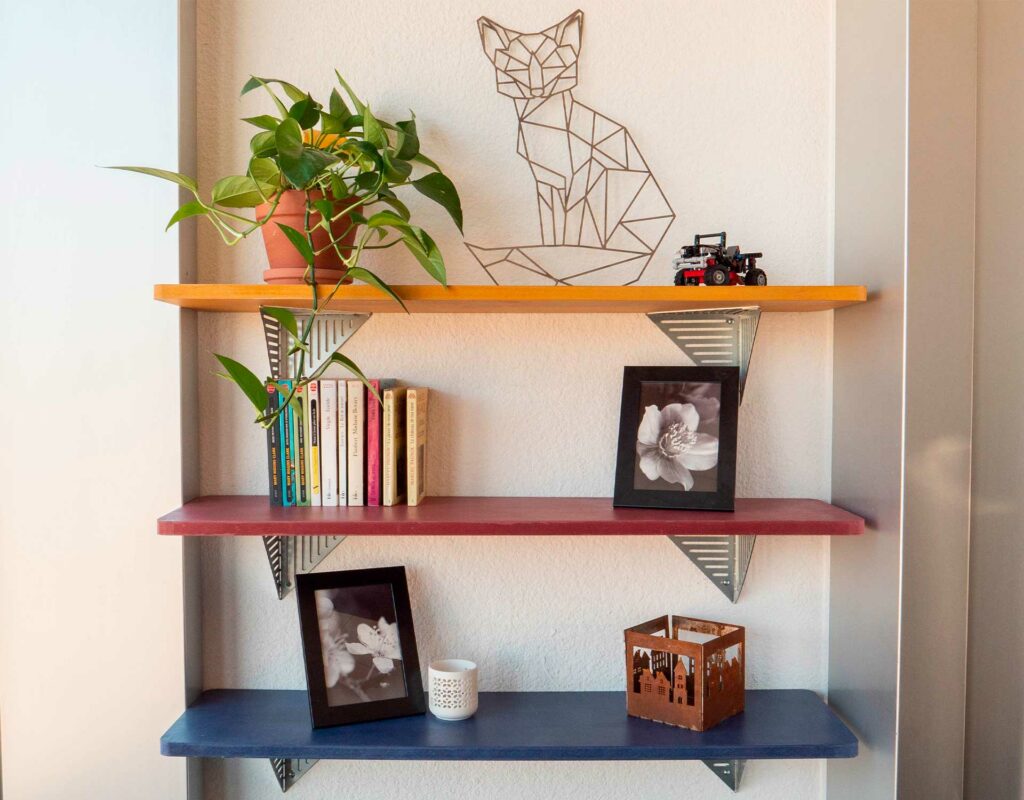
Make custom wooden wall shelves
4 août 2021
STEP 3 : Installing the wooden shelves
Since the shelves are made to be fixed to the wall, we can finally get to the heart of the matter. For this operation, I called on John who had a great time putting together his equipment. To tell you more, you’ll need :
- A drill powerful eough to adapt to all types of walls (in our case the wall is brick)
- Drill bits that are also adapted to the wall to be drilled
- Screws and dowels for fixing
- A level to measure
Are you ready ? Lets go for an express assembly of the shelves !
Firtst of all, you have to place the shelf where you want it. Using the measuring level, find the perfect alignment so that your shelves are perfectly balanced. When that balance point is found, make markings with a pencil to make sure you’re drilling in the right place  Once you’ve finished the preparation, it’s DIY time. Drill in hand, very quickly the 4 mounting holes are done ! Fast and efficient this John. Like a surgeon, he installs in the blink of an eye the dowels needed to install the shelves. Do you follow ? All that remains is to screw the wooden shelves to the wall.
Subscribe to our SteelNews
No more than 1 email per month, only the quality!


Commentaires
Leave a comment