-
-
-
-
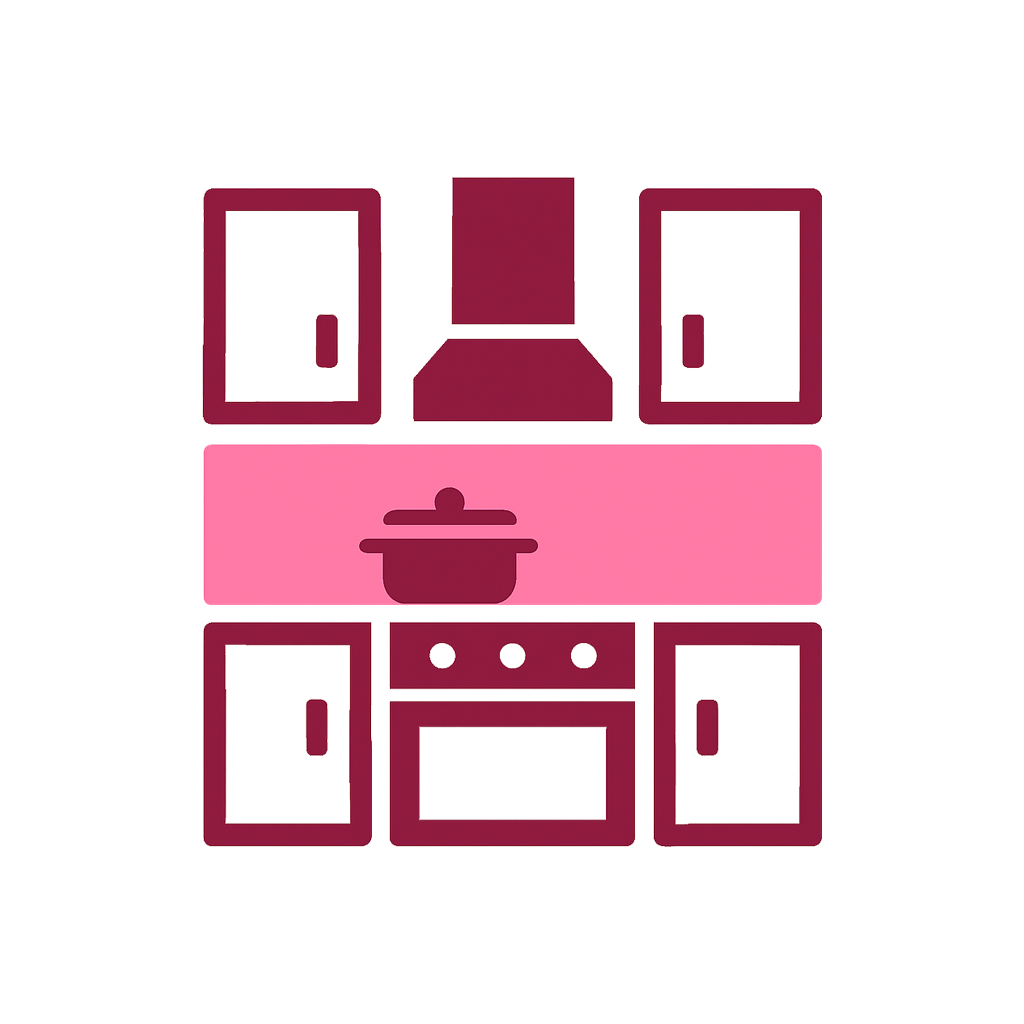
Kitchen splashback
-
-
-
-
-
Our Tools
Create your custom-cut metal parts instantly with our 3 online solutions!
John Steel: From concept to precision cut in just a few clicks.
-
-
-
-
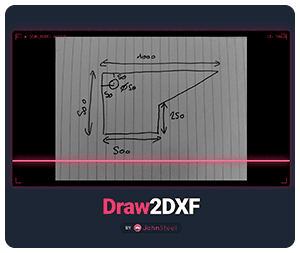
DRAW2DXF (beta)
Creating your design file has never been easier! A simple sketch is all you need.
Scan my sketch
-
-
-
-
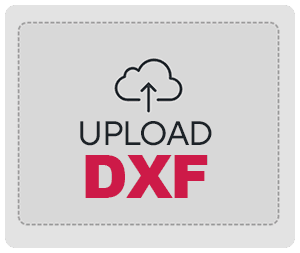
UPLOADER
Simply upload your DXF file, and we'll take care of the rest!
Upload my DXF
-
-
-
-
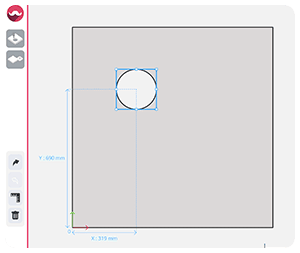
Custom Part Builder
Easily design or edit your custom part!
Design my part
-
-
-
-
-

-
Our cuts and folding ordered directly from the factory on the internet in just a few clicks
-
Submit your quote now !
-
-
-
-
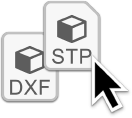
1. Drag your DXF (2D) and STP (3D) files
Simply drag your files into our online configurator
-
-
-
-
2. Define the material and thickness of the project
Steel, aluminum or stainless steel in the thickness of your choice
-
-
-

-
3. Quote, order & receive your parts
Get your quote instantly, start production immediately with fast delivery
-
-


Tutorial: convert image to DXF
25 novembre 2015Do you want to reproduce a 2D drawing as a vector without having to draw it? No worries, our Steelster explains in detail how he produced the DXF design of his favourite band from a black and white image. Discover the step-by-step guide for how to convert an image into a DXF simply and quickly.
We often get requests for cutting out a logo in a .PDF or image format, but we only work with the DXF format.
Recently a customer contacted us, explaining that he had no experience with vectorising or CAD software. After we received his request, we were surprised because he had some real talent! Until he confirmed that he drew hardly any of it himself. He was kind enough to describe the process for us so his technique could help other future customers.
Step 1: find an image and vectorise it
- First of all, he found the logo of his favourite band from Google Images (the picture must be in black and white for a good conversion and must be free of copyright).
- Then he uploaded the image to this vectorisation site who convert images (jpg, png and pdfs are supported) into vectors (.DXF). And it’s free as well!
Step 2: make corrections to the file
Once the file has been downloaded, several corrections need to be made for it to be laser cut. These corrections can be made using libreCAD (free CAD software for Windows and Mac) before sending it to us:
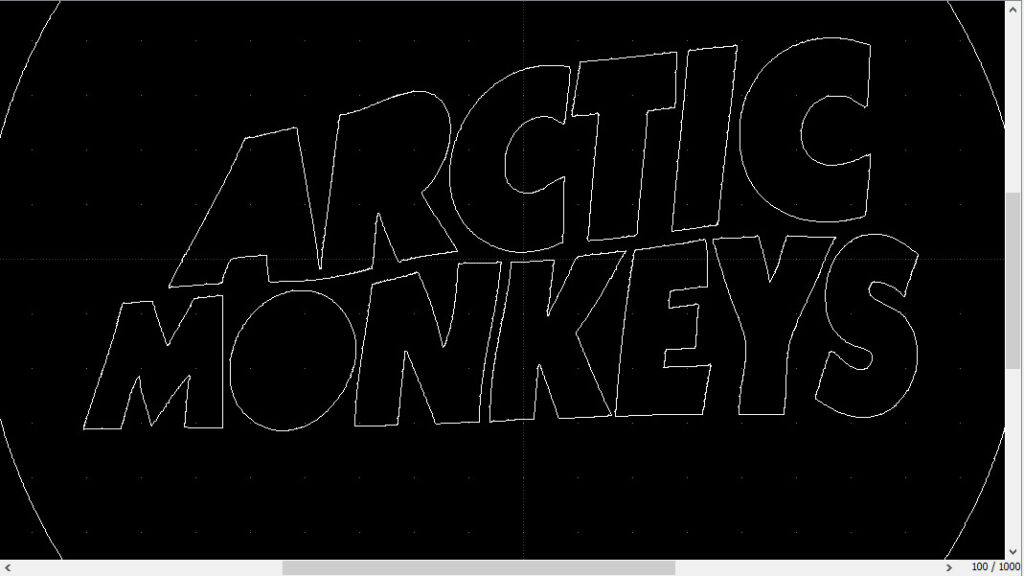
During the conversion, a second outline can be added as you can see on the image below (one section has been selected in blue). You must always delete the outer outline to get the desired result:
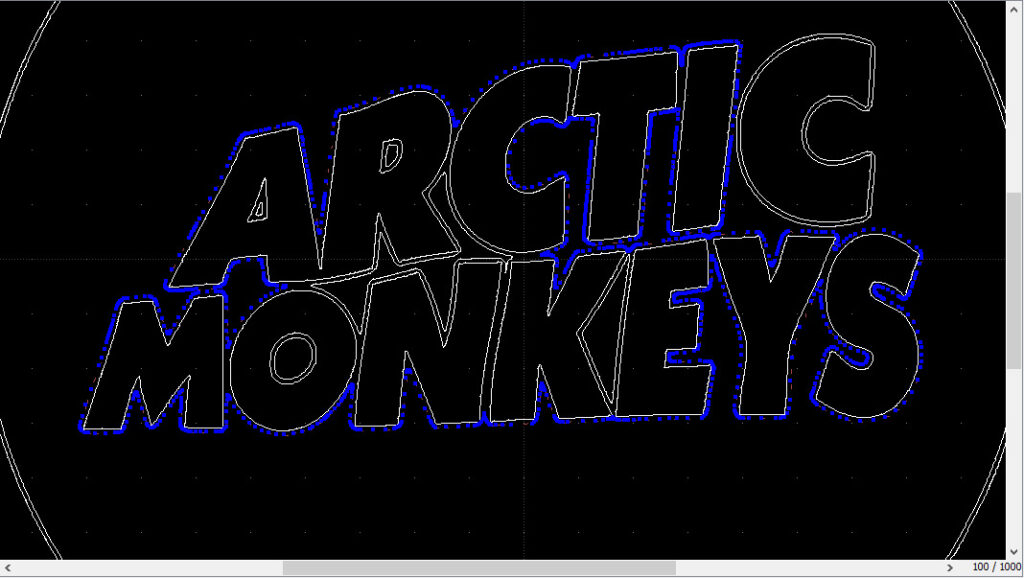
The holes in the letters A, R and O had to be removed because they would be lost in cutting.
Step 3: check the dimensions and save your image as a DXF
- The size of the image remains unchanged during the conversion. To get the desired results, you need to do one small thing, which you will find in the following tab:
- Edit > Scale (Don’t panic if nothing displays, that’s normal. Read the rest)
- Then you need to select all (Ctrl+A), then press Enter on the keyboard and lastly click on the shape. A window will open to resize your drawing.
For a cleaner and more precision circle, our client redrew it and added a hole at the top for hanging it (not necessary if you don’t want one):
final dxf version
Nothing very complicated, this is accessible to any CAD software beginners!
Step 4: place an order on John Steel Pro
- All that is left now is to upload the file to the John Steel Pro welcome page, choose the metal and place the order.
Here is the result with the black rustproof paint to top off the decoration:

Cutting painted in black
A big thanks to our Steelster for this tutorial 👋
Little bonus, still in the graphic design theme:
Subscribe to our SteelNews
No more than 1 email per month, only the quality!

Commentaires
Such a well-written and valuable post! The examples you shared make it very easy to understand, and I really appreciate the effort you’ve put into this article. On a related note, I recently came across a great https://www.loadmytools.com/jpg-to-dxf which has been super useful in my projects — thought it might be helpful for others reading this too.
Thank you for sharing this site, I am sure it will be useful to our readers, we also appreciate your interest in our articles and we hope to see you again soon on our site.
Kind regards, Lucas – John Steel
such a well-written and valuable post! the examples you shared make everything so easy to understand — i really appreciate the effort you’ve put into this article. by the way, i recently discovered loadmytools.com — it’s an all-in-one online platform for document conversion, image conversion, video downloading, and much more. it’s been super handy in my projects, so i thought it might be helpful for others here too!
Hello,
We’re glad to hear you liked your article, thank you for sharing this tool, I hope it will be helpful.
Lucas – JOHN STEEL
Leave a comment